Nail art is a creative and fun way to express your style and add a unique flair to your nails. While intricate nail designs can seem daunting, there are plenty of beginner-friendly nail art ideas that you can easily master. Here’s a step-by-step guide to simple nail art for beginners:
Materials You’ll Need:
- Assorted nail polishes in your chosen colors
- Base coat and top coat
- Nail art brushes or toothpicks
- Nail polish remover and cotton swabs (for cleanup)
- Nail file and buffer
- Nail stickers or stencils (optional)
Step 1: Prepare Your Nails
Start by ensuring your nails are clean and dry. If needed, trim and shape your nails using a nail file. Gently buff the surface of your nails to create a smooth canvas for your nail art. Finish with a base coat to protect your nails and help the nail polish adhere better.
Step 2: Choose Your Nail Art Design
For beginners, it’s a good idea to start with simple designs. Here are a few ideas to consider:
- Polka Dots: Use a contrasting color to create polka dots on your nails.
- French Tips: Create classic French tips with a colored twist.
- Stripes: Apply strips of tape to create straight lines or use a nail art brush for freehand stripes.
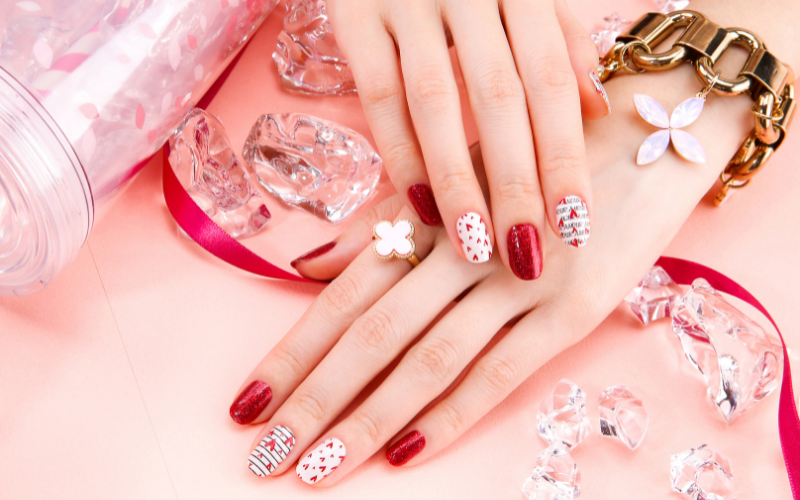
- Accent Nail: Choose one nail for a more intricate design and keep the others simple.
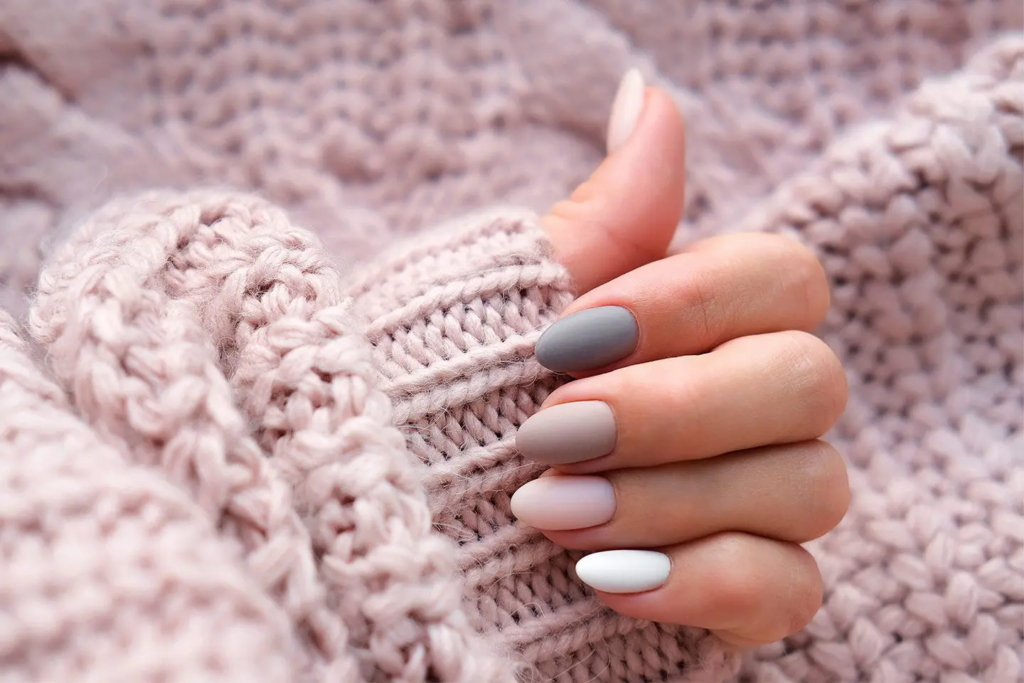
- Ombre: Blend two complementary colors for a gradient effect.
Step 3: Apply the Base Color
Apply your chosen base color to all your nails. Allow it to dry completely before moving on to the nail art. You may need two coats for a solid, even color.
Step 4: Create Your Design
Option 1: Freehand Nail Art:
If you’re confident in your painting skills, use a nail art brush or a toothpick to create your design directly on the nail. Start with light, thin strokes, and build up as needed. For example, for polka dots, dip the end of a toothpick into your chosen color and gently dot it onto your nails.
Option 2: Nail Stickers or Stencils:
For an easier approach, you can use nail stickers or stencils. Simply place the sticker or stencil on your nail, press it down gently, and then apply your chosen nail polish color over it. Carefully remove the sticker or stencil while the polish is still wet.
Step 5: Allow Your Design to Dry
Wait for your design to dry completely before moving on to the next step. This can take anywhere from 10 to 30 minutes, depending on the complexity of your design and the thickness of your nail polish.
Step 6: Apply a Top Coat
To protect your nail art and add shine, apply a clear top coat over your nails. This will also help your design last longer and prevent chipping.
Step 7: Clean Up Any Mistakes
Use a cotton swab dipped in nail polish remover to clean up any mistakes or excess polish around your nails. This will give your nail art a polished and professional look.
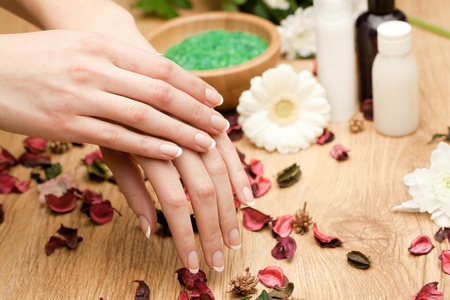
Step 8: Hydrate Your Cuticles
Finish your nail art by applying cuticle oil or hand cream to keep your nails and cuticles healthy and moisturized.
Step 9: Show Off Your Nail Art
Now that your nail art is complete, proudly show off your beautiful and creative nails to friends and family. Don’t be discouraged if your first attempts aren’t perfect; practice makes perfect in the world of nail art. As you gain confidence and experience, you can experiment with more complex designs and techniques. Have fun, and let your creativity shine!