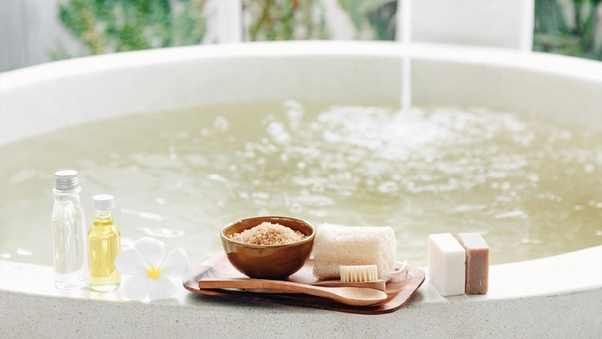
Bath bombs are a delightful addition to your bath time routine, creating a spa-like experience in the comfort of your own home. Making homemade bath bombs is not only fun but also allows you to customize the ingredients and scents to suit your preferences. If you’re a beginner, here’s a simple recipe and step-by-step guide to create your own homemade bath bombs:
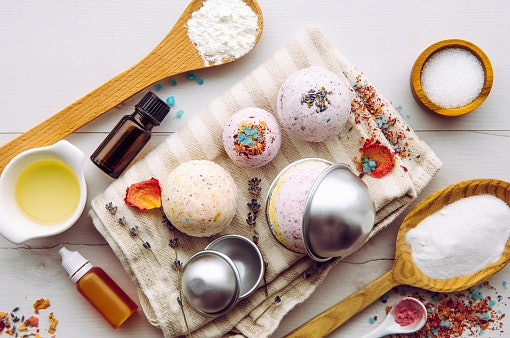
Ingredients You’ll Need:
- 1 cup of baking soda
- 1/2 cup of citric acid
- 1/2 cup of cornstarch
- 1/2 cup of Epsom salt
- 2 1/2 tablespoons of coconut oil (or any carrier oil of your choice)
- 1 tablespoon of water
- 20-30 drops of your favorite essential oil (such as lavender, eucalyptus, or citrus)
- Natural food coloring (optional, for adding color)
- Bath bomb molds (you can also use silicone molds or even cupcake tins)
Instructions:
- Prepare Your Workstation: Clear a clean and dry workspace for your bath bomb-making adventure. Gather all the ingredients and tools you’ll need.
- Combine Dry Ingredients: In a mixing bowl, add the baking soda, citric acid, cornstarch, and Epsom salt. Use a whisk or your hands to blend these dry ingredients thoroughly. Make sure there are no lumps.
- Mix Wet Ingredients: In a separate small bowl, mix the coconut oil, water, essential oil, and a few drops of natural food coloring if you’d like to add color. Stir well until the ingredients are evenly combined.
- Gradually Add Wet Mixture: Slowly pour the wet mixture into the dry mixture while stirring continuously. It’s essential to add the wet ingredients gradually to avoid fizzing and premature activation of the bath bomb.
- Check Consistency: The mixture should resemble damp sand and hold its shape when squeezed together. If it’s too dry, you can add a tiny bit more water. Be cautious not to overdo it; a little water goes a long way.
- Pack the Molds: Fill each half of your bath bomb molds with the mixture, pressing it down firmly to ensure it’s packed tightly. If you’re using silicone molds or cupcake tins, press the mixture into these molds.
- Combine the Molds: If you’re using bath bomb molds, gently press the two halves together. If using other molds, compact the mixture as much as possible.
- Let Them Set: Allow the bath bombs to set in the molds for at least 24-48 hours. Placing them in the refrigerator can speed up the drying process.
- Remove from Molds: Carefully remove the bath bombs from the molds. If they don’t release easily, gently tap the molds or use a spoon to help release them.
- Store and Enjoy: Store your homemade bath bombs in an airtight container away from moisture until you’re ready to use them. Drop one into your bath, watch it fizz, and enjoy the soothing scents and relaxation.
Tips:
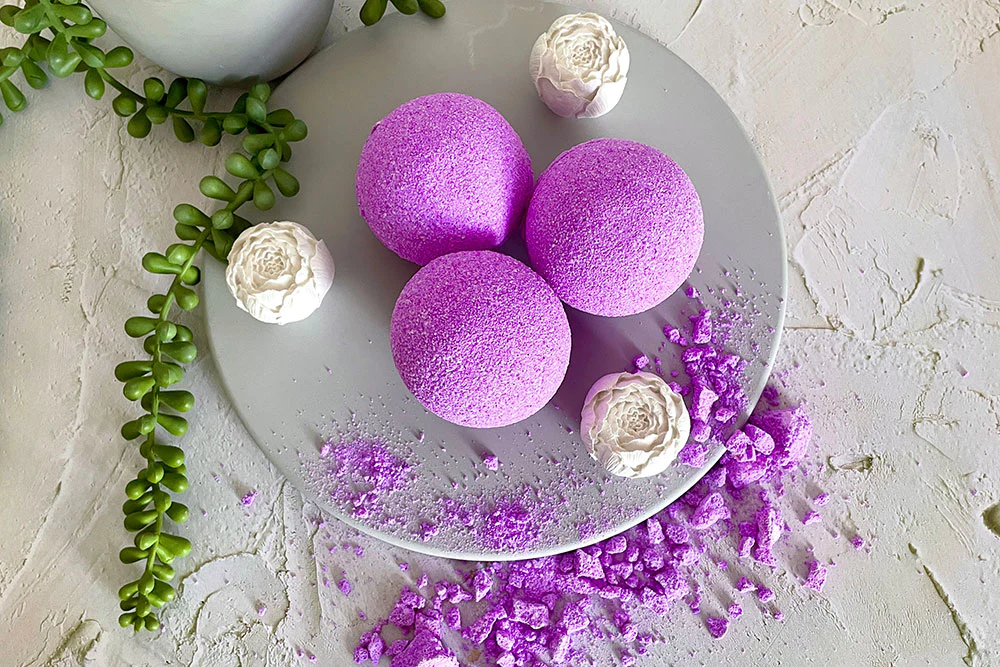
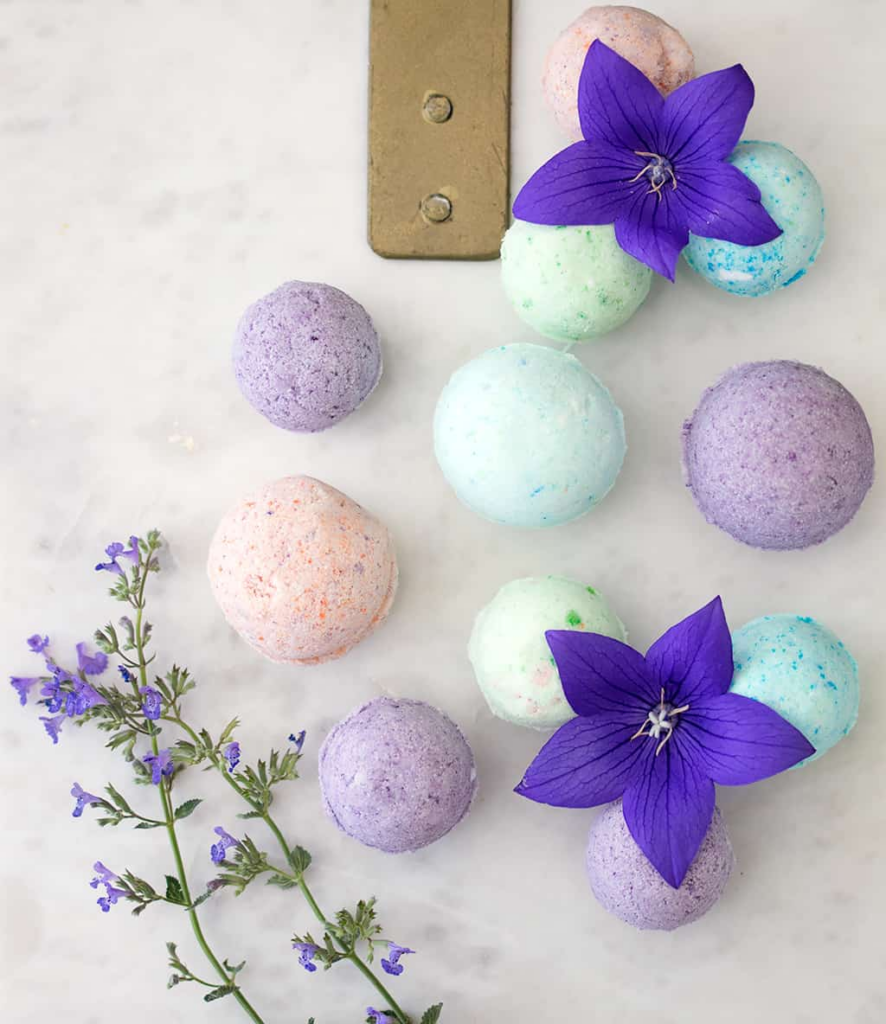
- Experiment with different essential oils and color combinations to create unique bath bombs.
- Be cautious when adding water; too much can activate the fizzing prematurely.
- Allow your bath bombs to fully dry before storing them to prevent them from breaking apart.
- Feel free to get creative with shapes and sizes by using different molds.
- Homemade bath bombs make wonderful gifts for friends and family. Consider packaging them in decorative containers or bags.
Making homemade bath bombs is a fun and rewarding DIY project that can elevate your bath time to a spa-level experience. As you gain experience, you can explore more advanced techniques and ingredients to create bath bombs that suit your individual preferences and skincare needs. Enjoy your relaxing and aromatic baths!